Wednesday, August 29, 2012

Welcome to my blog I have another project to share with you.  This time I used Graphic 45's Olde Curiosity Shoppe papers and a thrift store find.  Again I tried to start doing step by step instructions.  With a craft room under construction, I gave up and  decided to post pictures of the item at the end.  I've already uploaded a video to youtube.  


 Here is a list of the supplies you'll need:  


1 Metal Recipe/File Box (approx 3.5X5.5)

Graphic 45 Staples
1 Ornate Metal Key
1 Ornate Metal Label Holder
1 Ornate Metal Key Holes

Graphic 45 Papers
Optical Oddities (8x8, rest are 12x12)
When Pigs Fly
Olde Curiosity Shoppe
Counting Down
Exquisite Motif
Race For Time
Butterfly Specifics
Apothecary
Genuine Article
Bazaar of Wonders

Graphic 45 Chipboard #2

Bind it all with 1 inch rings

Hot Glue Gun (for attaching flowers)

Ranger Products
Vintage Photo Distress Ink
Blending Tool
Glossy Accents


Here is how my box started out.  It has seen better days...but not for long.  With a little makeover it will be better than it ever was.


Here is the inside.  Plain and boring.


It is now much improved.  At this point I have just added paper to the outside and inside of the box and added the Ornate Metal Label Holder.  I attached it with Glossy Accents and the brads.  I made the holes in the metal box with my Cropadile.  The words across the front fit perfectly as if the box was made for the paper or the paper was made just for this box.


Here is how the paper on the inside looks.  I like to keep my projects simple.  These papers are so beautiful they don't really need a lot of over embellishment.


I embellished the top with a Graphic 45 Staple Key Hole, added some brads from my stash, handmade grunge flowers, fussy cut butterflies, I AM Roses, vintage style buttons, and more paper die cuts from the collection.


A few more embellishments around the box and on the inside and it is complete.


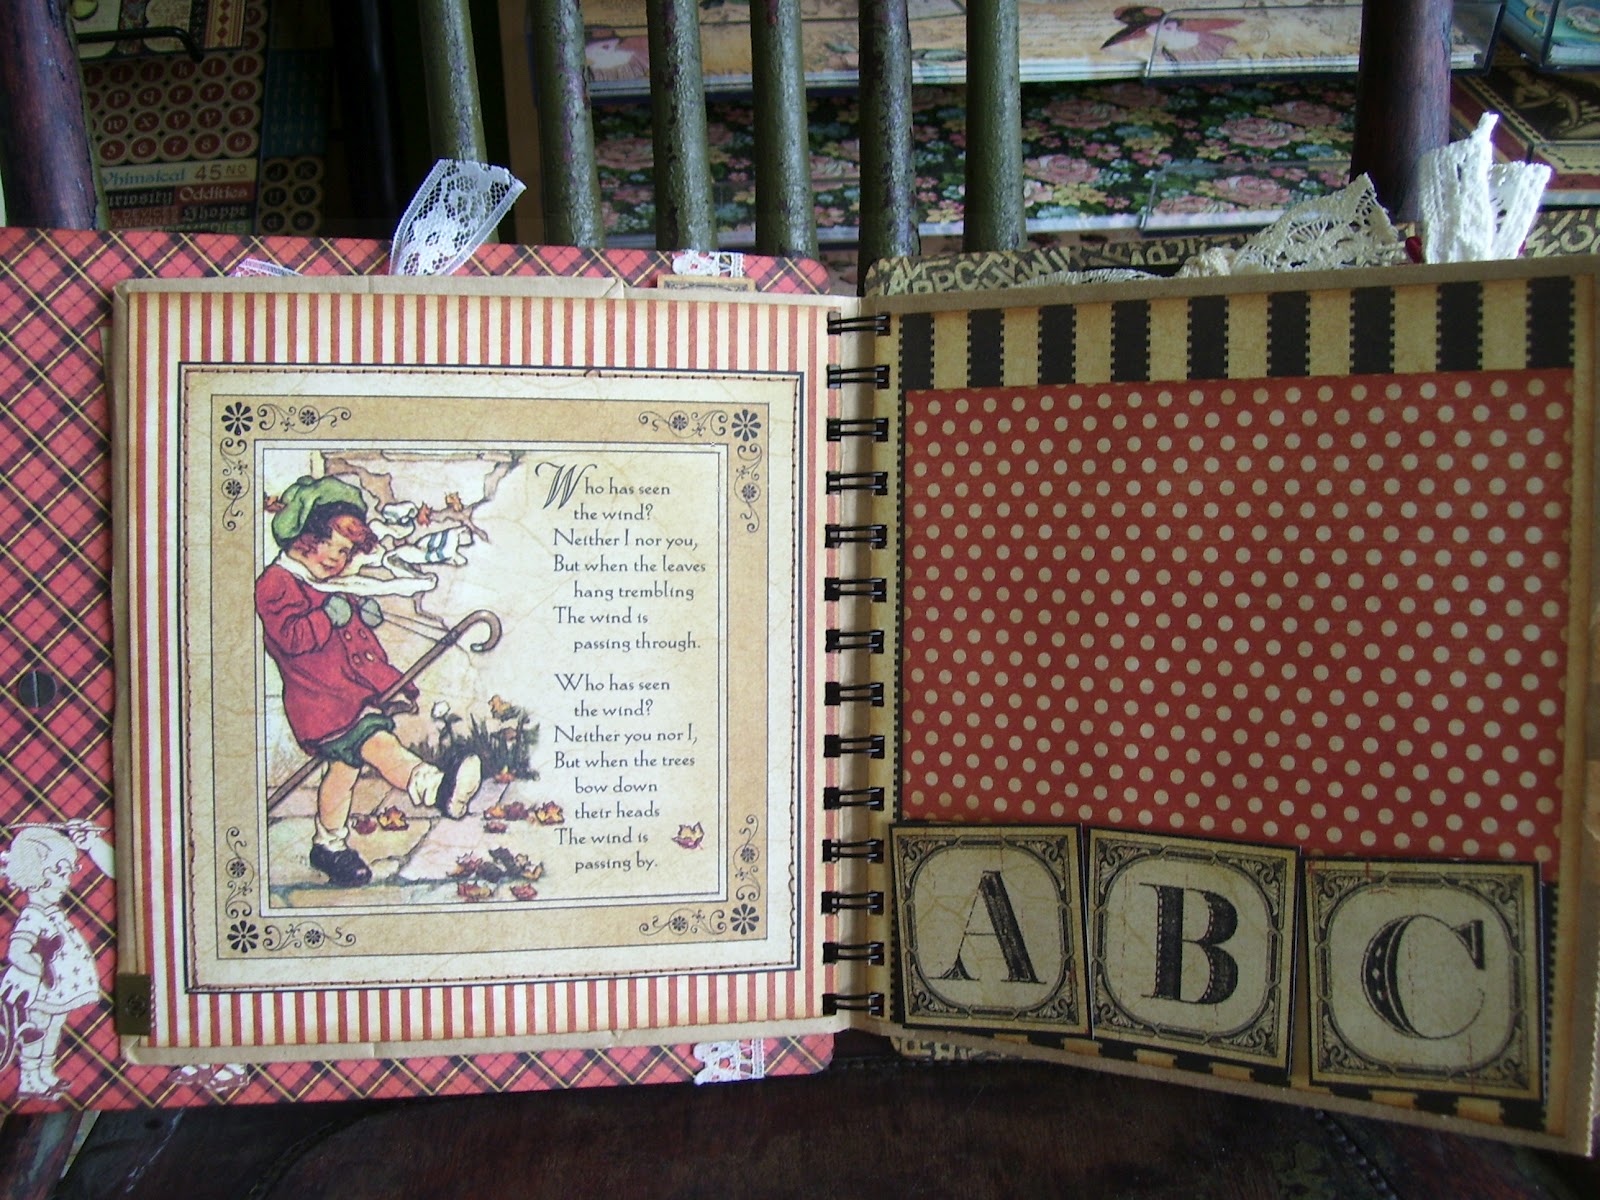
Then I made a mini album to go inside the box.  It is approx 3x5.  I used a Graphic 45 Ornate Metal Key attached with a Tim Holtz Pin.  I added another of my handmade grunge flowers and some buttons and chipboard.  I used lots of Glossy Accents to make the images stand out.  I finished it off with lace and ribbon from my stash.


Thanks for stopping by my blog today and I hope to have something new to share soon.

Idaho Amy

Wednesday, August 15, 2012

ABC Primer

I'm really enjoying using Graphic 45 ABC Primer.  

I started this project last week when thinking about my kids going back to school.  I'm right in the middle of a big store move and have been really busy and to top it all off the kiddos went back to school today but here it is all finished and just in time.  I've listed it on my Ebay store for some lucky family to enjoy.


I just love these papers and this board book by Teresa Collins.  I love that she doesn't put holes in them so that I can just bind-it-all.  The mini clipboard is from Staples.  The bling is by Want2Scrap.


I used an I AM ROSES rose that I got from Leah (thanks) and used a Unique clip from Graphic 45 Staples. This is a cute very fast project for a student or teacher.


I used lace from my stash, charms and white roses from my friend Leah (thanks), Want2Scrap bling, handmade grunge flower and button, I used glossy accents and occasionally some hot glue for sticking the BIG things.


 Here is the card.


The inside pages are in no particular order.  After attempting to upload the pictures for over an hour I'm glad they are at least here.  (Not all posted but enough)  You'll have to check out my video on Youtube.


Thanks for stopping by and checking out my blog.  I'll be sending out a prize for one random person who leaves a comment before Friday.


Thursday, August 9, 2012

Sneak Peak Alert!!!

I've been working on Graphic 45 again.  Just can't get enough of my favorite paper line.  School's coming up for our kids so it was easy  coming up with my next project.  So here is a sneak peak, I'll be finishing it over the weekend and video taping Monday.  I should have it on YouTube by the afternoon as well as it listed on Ebay.  Thanks for stopping by.


I'm so in love with these covers by Teresa Collins.  This was the first one I ordered and I wish I would have gotten more.  I love the colors of his one, sooo pretty.  My favorite feature of this album is that it comes with binder rings, but no holes are punched.  The reason I like that they did not put holes in it is because I use my bind-it-all and I don't want to try to cover up the holes.  (which I had to do on my Prima canvas album I decorated with Pink Paislee earlier in the week)

Here is what it looks like bound.  I added my favorite photo from the collection.


Sorry this picture is so bad.  I did not realize it till just now.  I brought it home for homework and photographed it on my couch in a badly lit living room.  I just couldn't wait to share it with all my friends, and I can't wait to show you the rest of it next week.  

Once this is finished I'll be working on a altered metal box that I'll be making a mini for.  It will be made using Olde Curiosity Shoppe.

Monday, August 6, 2012

 Pink Paislee
Daily Junque

Every week I try to make a new set from one of my favorite paper companies.  I've been saving this one for some time and finally gave in and used some of it.  I really like these double sided papers from Pink Paislee and I know you will enjoy them too.  I have made a video on my Youtube Channel and will post a link for it at the end of the blog.


Here is what the stack looks like.


Along with 6 sheets of paper from Daily Junque I used the ephemera pack and a canvas album by Prima.  I Used some of my favorite Ranger products, Glossy Accents, Pearl Paint Dabber, and Vintage Photo Distress Ink.


Here is the Album and Card I made using Pink Paislee Daily Junque.  I stitched throughout with my Brother sewing machine in brown thread.


Here is a close up of the front of the card.  I created rays using the scraps left over after completing the album.


Here is the inside of the card.  Lots of room for a message.


Here is the front of the album with the zipper closed.  I stitch all my zippers into the paper to make sure that they can be used.  I like to make my projects funtional as well as pretty.


Here is what the front looks like with the zipper open.  You can tuck the edge under the chipboard to hold it in place when you want to see the inside.


I added a circle of the ephemera to the itty bitty bottle cap charm (from Leah)and Glossy Accented it.  I used some of my favorite teal lace and some great Prima flowers I found on Ebay. The centers of the flowers are buttons from a western-style shirt I no longer wear.  I lover recycling items into something new and wonderful.


The Pink flower is a creation of my mother (Marcia) she makes the cutest little crocheted items.  The bird is from the ephemera package that I added to the charm (from Leah). 


This page has a side pocket with ephemera tucked in.  The background paper is the packaging from the Prima canvas book.


I used a Tim Holtz Black tag and embossed it and then used the pearl dabber to distress the tag and paint the canvas background.  I then added ephemera to it.  I love the Be sayings in this collection.  I used pop dots to give them dimension.


I made a spot for a large photo and added more Prima flowers and ephemera.


This page has a pocket. I ink all my edges I just like the "vintage" look.


I distressed parts of this page with either Ranger Vintage Photo Distress Ink or my Ranger Pearl Paint.


This page I love.  I really like the way the arrows point towards whatever you add inside them.  I also used the Paint Dabber to distress the canvas and popped the globe and word Be Kind.  The button even has the original thread sticking from it.


I love how these papers layer so easily you don't even have to think about it.  


This page I added a large spot for a photo and stitched a zipper.  I made a pocket in the back that holds more tags and ephemera.


 I love how a simple black clip holds additional ephemera to the page.  I love the words Be Positive.


 We all have a bit of Daily Junque in our lives.  Thanks for stopping by to see my new set.  I hope that it inspires you to create something with what you have in your stash.  -Amy