Saturday, March 8, 2014

Graphic 45 Design Team 2014 Audition

Today I'm answering the 2014 Design Team Call


Below you will see my creations for the first round of the Design Team call.  These projects I've created over the last year and hope you enjoy them.  To see other projects I've created please visit me on Sew Scrappin on Facebook and SewScrappinIdAmy on Youtube. I also post all my G45 projects to Graphic45.ning and Pinterest.

I also have more great news.  I've updated my lighting in my scrapbook space so as you can see from my first layout my pictures will be much lighter then previous examples.  Hope you like these changes.

I love making layouts.  Here are a few of my favorites.


I love altering items.  Here are a few of my favorites I've made this year.


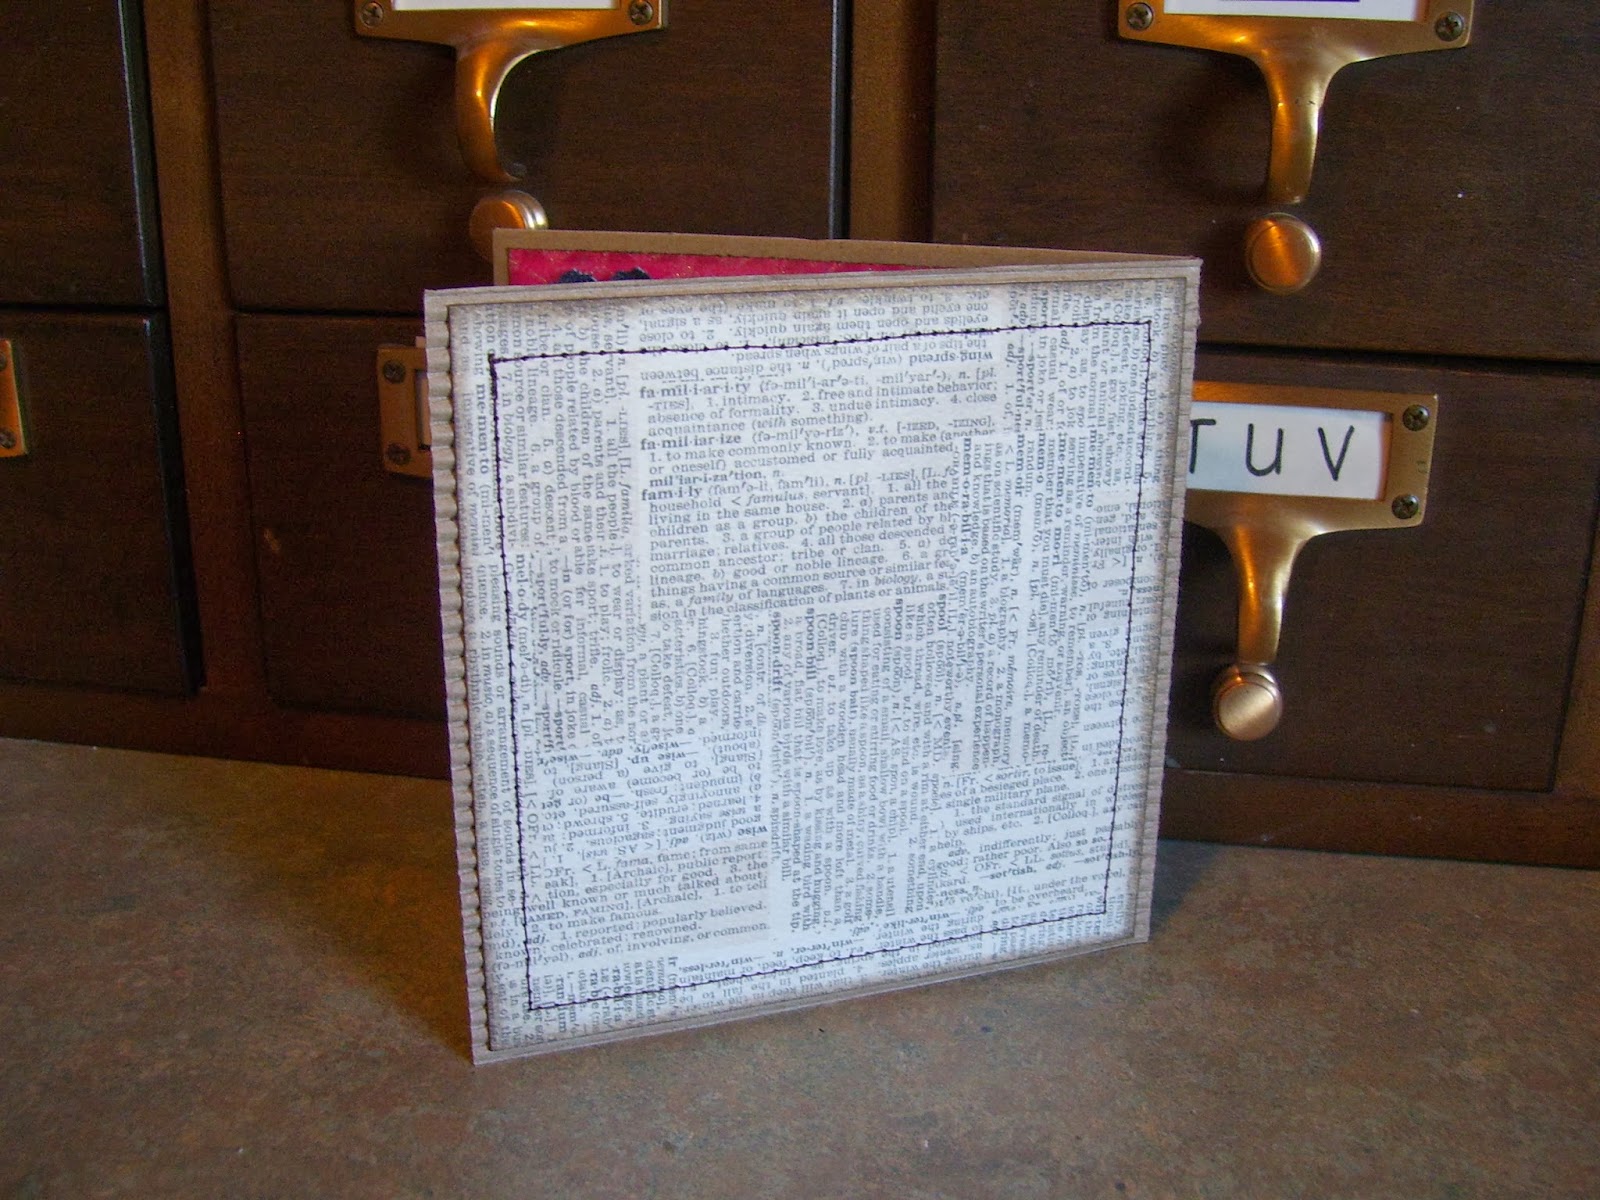
I love making cards.


Tags are also lots of fun for me.  


I love making mini albums with boxes to cherish them in.  I usually give them or sell them.  This one I used G45 Tag Staples for the pages. 


 Something else I love making is jewelry.  I made these for myself and I wear them most of the time.  From them you can see which collections are my personal favorites.  I do love them all but these two just speak to my personality.


I love all things Graphic 45.  To be considered for their Design Team would be a dream come true.  


Sunday, March 2, 2014

pink paislee Hope Chest

I had so much fun creating this layout sitting on my couch.  My family is the most important part of my life and I feel like we just never have time to be together. So when sitting around watching t.v. with the family, I often grab a few craft items and see what I can do.  

For this project I grabbed:

pink paislee Hope Chest 12x12 paper pack 
Glitz Sunshine in my Soul 6x6 paper pack
Imaginarium Designs dress form (thanks Amy V.)
Darjeeling Petaloo flowers
pink paislee Hope Chest paper goods
pink paislee Hope Chest label stickers
vintage lace from my stash
Ranger Tim Holtz distress Walnut ink
Want2Scrap Bling
Glossy Accents (Ranger)


I used one of the 12x12 papers and all the rest are from the 6x6 stack. You don't have to have lots of paper to create a cute layout.  I find scrapbooking is much easier when working with a collection or a set.  Makes taking your work with you much faster... even if you are just taking it to the couch.

Amy Kluchesky


Sunday, February 23, 2014

Graphic 45 Couture

I have to say Couture is one of my favorite collections so far.


Here is a layout that I made last weekend using Graphic 45 Couture papers.


When starting this layout I choose the pretty peacock paper as my main focal paper and then distressed the edges.  I cut out the center of the sheet to save for another project.  I would be covering the center anyway so nobody would know it was missing. That is how I make my papers go further.  I added it to a simple brown wood grain paper so that there would be no hole in the back.  I then cut out the center contrasting color just bigger than the missing paper and distressed the edges.  


I added lace down the side and bottom and cut out my quote sheet.  I then went through all my chipboards and other embellishments to see what had feathers.  I collected those together and distressed the edges with walnut stain. I took a small craft tag and cut it in half.  I made it appear larger by adding a 4x6 sheet of paper from the 6x6 mini stack.  This is my photo mat as well.  


I then added these great Petaloo flowers and leaves.  The white ones I got in a swap.  The little green roses are from the dollar bin at Michael's. If you look closely you can see the burlap sneaking a peak. I cut that out with my Tatter Floral die by Tim Holtz.  I added the words "so stunning" from the sticker sheet to a metal drawer pull (Tim Holtz, Ranger).


The bling is Want2Scrap and adds just the right amount of filler and wow to the page.   


Thanks so much for stopping by to see me today.  
Have a scrappy weekend!
Amy Kluchesky


Monday, February 17, 2014

Altered Phone Case Video

Just wanted to share with you my video on how I made my altered phone case.


Hope you enjoy.

Thanks so much for stopping by.  Amy Kluchesky


Saturday, February 15, 2014

Altered Phone Case

When something just isn't doing it for you anymore.  Alter it!!!!


My cellphone case had seen better days.  It was a steal of a deal on Amazon for $3 including shipping and had pretty red butterflies on it.  I used it for months until the image started peeling off.  While on Pinterest I saw someone take G45 tissue tape and cover their IPhone.  I decided that was a great idea, and had to do that with my old case.  

With the case off my phone I added the tissue tape all over the plastic to give a base and something to add color to.  I then inked over the entire case with two of my favorite ink color sprays and then Broken China Distress Ink from Ranger. After drying with my heat gun I added Gesso and then inked over the white dots (I love dots).  I added Stickles randomly and then added fussy cut images from one of my favorite paper lines Steampunk Debutante.  I then sealed it all in with Matte Seal by Inksentials.

It isn't smooth by any means but that is one thing I actually love about it.  The tissue tape and matte seal give great texture and grip.  My phone will not get dropped as much and if it does I know it will be cushioned in style.

Thanks for taking a look at my latest project.  I will try to do a Youtube tutorial on this process this weekend so stay tuned.

Friday, February 14, 2014

Mustache You A Question

Will you go to my party?

My daughter is having her 12th Birthday party and her theme is Mustaches and nerds.  Not the geeky kind of nerds, the cool nerd and yummy candy kind.  So I begin with making her cards.  Since I never make two cards the same it would be no different for her party invitations.  

I had her choose the patterns of paper from my stash and then simply cut out and stitched them to the card base.  Since I was making several cards I did not do a lot of detail.  I kept it simple.  

Portia found these great mustaches at Michael's made of wood and she spent days putting on layers of black glitter Folk Art paint (purchased at Walmart).  I thought that it was important to get her involved since it is her party and I want her to realize how much work this sort of thing can be.

We printed off the "info" on white card stock 8.5x11 sheets you can buy at most scrapbook stores.  It is thicker and looks better than regular printer paper which is too thin.

I inked the edges of everything with walnut distress ink by Ranger.  


On the other side of the card it has all the info like: Who?, What?, Where?


Creating great one-of-a-kind cards does not have to be hard.  Just turn it into an assembly line just like you would if making them all identical.  The reason I stitched these cards was to use less glue.  Glue can cause paper to warp and I hate how that looks.  So using adhesive that is less wet will keep your projects nice and flat.  Another reason is thread is really cheap and goes a long way.

Thanks so much for visiting me today.  Have a scrappy weekend!


Tuesday, February 11, 2014

This Year Has Been Crazy.

It seems like I just don't have the time for crafting, videos, blogging, and teaching as I have had over the last few years.  Back in May I started temping at a Publishing Company and was hired in September full-time. I do as much as I can creatively but have to limit it to what I can create and upload to facebook. 

Now that things have gotten slowed down at work "the paid job" I'm going to try to give more time to crafting.  Since Valentines is coming up I thought I'd share a quick card that you can make for Valentines Day this Friday.


I use these great corrugated card bases that I purchase at Michael's.  

Of course this card says Happy Birthday but just imagine that it says Happy Valentines Day. (It is the idea anyhow right?)  

I save pockets off of all my kids pants but this pocket is the small inside pocket of my husband's pants (usually for keys or something???).  I stitch down whatever paper I love. Hot glue the pocket to the front, and cut out your favorite heart shape.  It might even look cute with one heart for each person you have in your family.  I inked the heart and paper edges with walnut ink.


You can't forget to decorate the inside of your card.  I punched out some flowers from jeans with the Tim Holtz Tattered Florals Die and used some silver brads.  Striped paper is great for giving yourself lines so that you don't write crooked (a problem I have).


Finish off your card by decorating the back with the same paper you used on the front.

Thanks so much for visiting me today.  
-Amy Kluchesky