Saturday, February 15, 2014

Altered Phone Case

When something just isn't doing it for you anymore.  Alter it!!!!


My cellphone case had seen better days.  It was a steal of a deal on Amazon for $3 including shipping and had pretty red butterflies on it.  I used it for months until the image started peeling off.  While on Pinterest I saw someone take G45 tissue tape and cover their IPhone.  I decided that was a great idea, and had to do that with my old case.  

With the case off my phone I added the tissue tape all over the plastic to give a base and something to add color to.  I then inked over the entire case with two of my favorite ink color sprays and then Broken China Distress Ink from Ranger. After drying with my heat gun I added Gesso and then inked over the white dots (I love dots).  I added Stickles randomly and then added fussy cut images from one of my favorite paper lines Steampunk Debutante.  I then sealed it all in with Matte Seal by Inksentials.

It isn't smooth by any means but that is one thing I actually love about it.  The tissue tape and matte seal give great texture and grip.  My phone will not get dropped as much and if it does I know it will be cushioned in style.

Thanks for taking a look at my latest project.  I will try to do a Youtube tutorial on this process this weekend so stay tuned.

Friday, February 14, 2014

Mustache You A Question

Will you go to my party?

My daughter is having her 12th Birthday party and her theme is Mustaches and nerds.  Not the geeky kind of nerds, the cool nerd and yummy candy kind.  So I begin with making her cards.  Since I never make two cards the same it would be no different for her party invitations.  

I had her choose the patterns of paper from my stash and then simply cut out and stitched them to the card base.  Since I was making several cards I did not do a lot of detail.  I kept it simple.  

Portia found these great mustaches at Michael's made of wood and she spent days putting on layers of black glitter Folk Art paint (purchased at Walmart).  I thought that it was important to get her involved since it is her party and I want her to realize how much work this sort of thing can be.

We printed off the "info" on white card stock 8.5x11 sheets you can buy at most scrapbook stores.  It is thicker and looks better than regular printer paper which is too thin.

I inked the edges of everything with walnut distress ink by Ranger.  


On the other side of the card it has all the info like: Who?, What?, Where?


Creating great one-of-a-kind cards does not have to be hard.  Just turn it into an assembly line just like you would if making them all identical.  The reason I stitched these cards was to use less glue.  Glue can cause paper to warp and I hate how that looks.  So using adhesive that is less wet will keep your projects nice and flat.  Another reason is thread is really cheap and goes a long way.

Thanks so much for visiting me today.  Have a scrappy weekend!


Tuesday, February 11, 2014

This Year Has Been Crazy.

It seems like I just don't have the time for crafting, videos, blogging, and teaching as I have had over the last few years.  Back in May I started temping at a Publishing Company and was hired in September full-time. I do as much as I can creatively but have to limit it to what I can create and upload to facebook. 

Now that things have gotten slowed down at work "the paid job" I'm going to try to give more time to crafting.  Since Valentines is coming up I thought I'd share a quick card that you can make for Valentines Day this Friday.


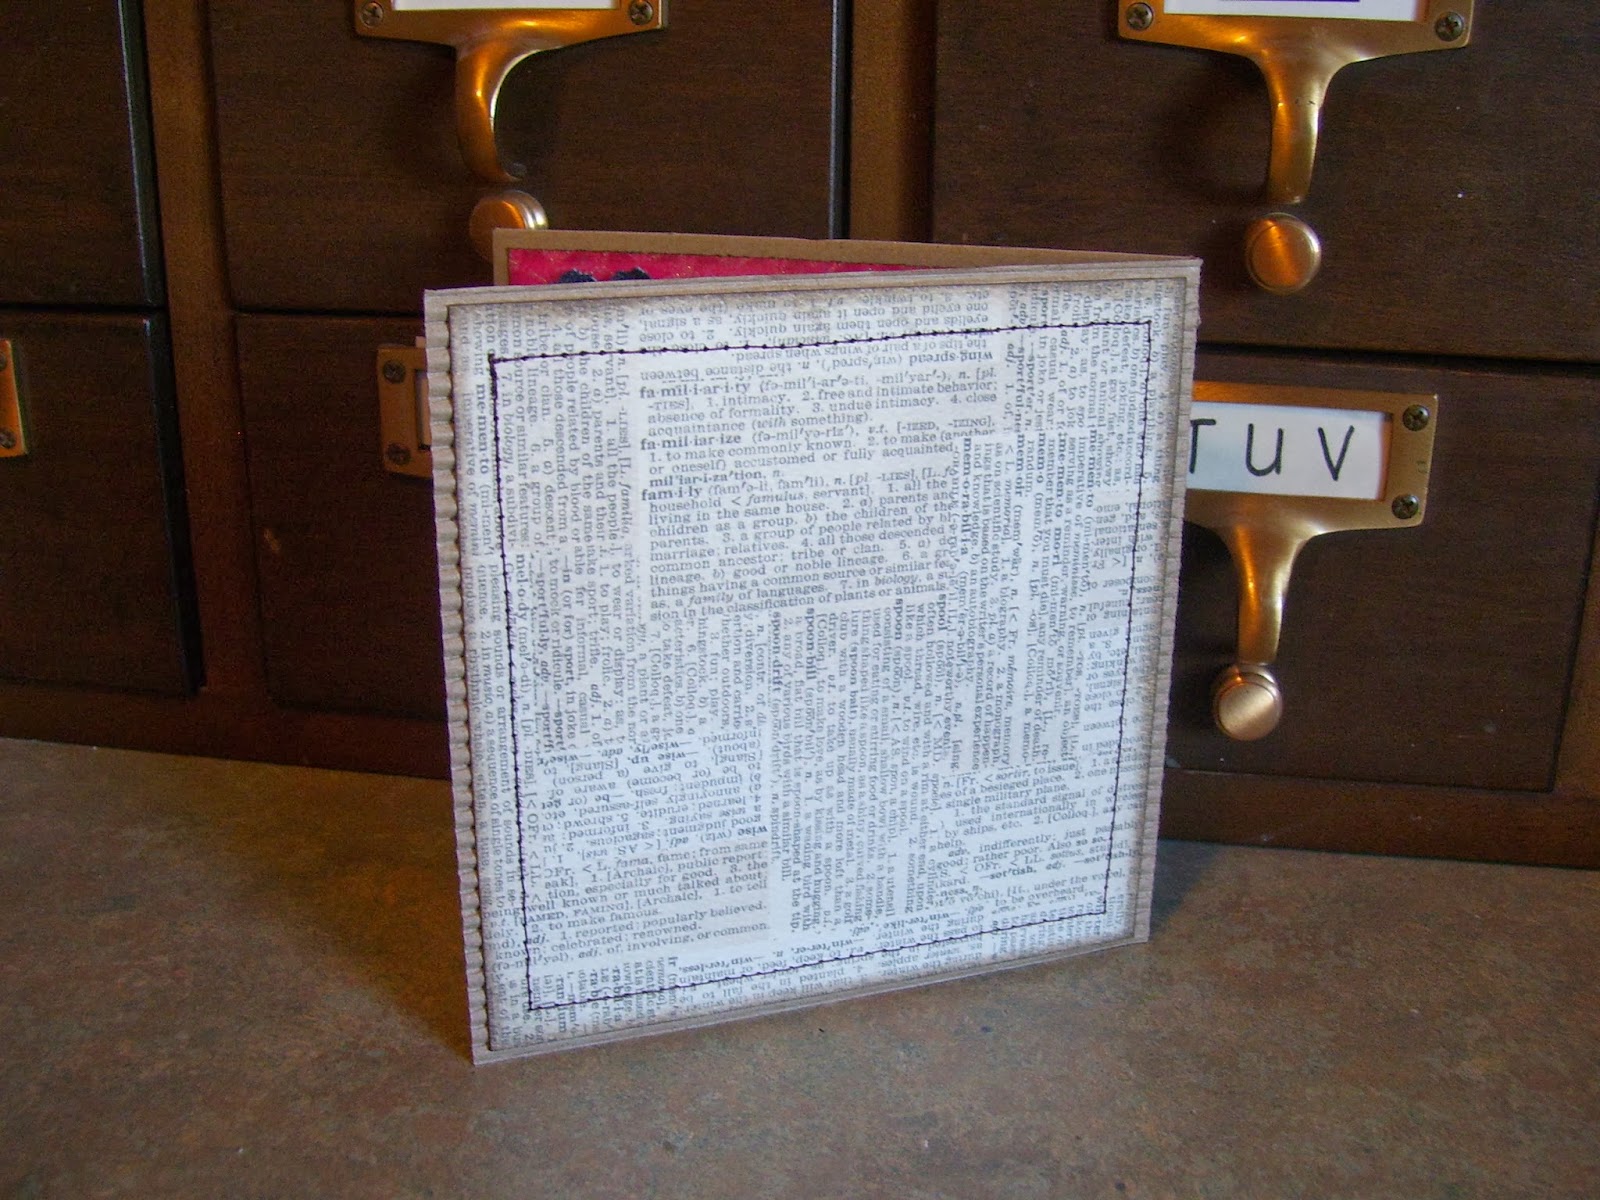
I use these great corrugated card bases that I purchase at Michael's.  

Of course this card says Happy Birthday but just imagine that it says Happy Valentines Day. (It is the idea anyhow right?)  

I save pockets off of all my kids pants but this pocket is the small inside pocket of my husband's pants (usually for keys or something???).  I stitch down whatever paper I love. Hot glue the pocket to the front, and cut out your favorite heart shape.  It might even look cute with one heart for each person you have in your family.  I inked the heart and paper edges with walnut ink.


You can't forget to decorate the inside of your card.  I punched out some flowers from jeans with the Tim Holtz Tattered Florals Die and used some silver brads.  Striped paper is great for giving yourself lines so that you don't write crooked (a problem I have).


Finish off your card by decorating the back with the same paper you used on the front.

Thanks so much for visiting me today.  
-Amy Kluchesky 


Sunday, August 4, 2013

Graphic 45 August Challenge

I'm so sorry it has been so long since my last post.  I have started a new full time job that is taking up so much of my scrappy time that I don't get much completed these days.  


On today's project I started with Graphic 45's Facebook Challenge for the month of August.  If you'd like to see that sketch please go check out their page on Facebook. Then I picked this beautiful flower spray that my friend Karen got at the Prima Outlet in California.  I just love it and it has to be my favorite spray.  


Because of the colors of the flowers I decided to use Graphic 45's Secret Garden collection.  It has both the yellow and purple that I wanted.  I started out with two sheets of cardstock the dark purple is 12X12, the yellow is 11.5X11.5


I then cut a sheet of Beautiful Blooms down to 11X11.


I then took it over to my sewing machine and stitched around the purple edge to give it more dimension.  Also to hold all three sheets together and save on adhesive.


I took a 5.5X12 sheet of Seed Fairy and distressed the edges.  I then cut strips of Pretty Primrose for the top and bottom and attached them with my sewing machine. I added purple scraps to the front for photo spots and mounted them with my sewing machine thread as well. 


I took apart the Prima spray and kept all the pieces.  At this point I'm not sure what ones I'll be using.  


I then glued down the photo spots below the center of the layout.  I traced a G45 tag onto a Prima Julie Nutting Pad Tag.  You only need to trace the top of the tag since that is all you will see.  It was the perfect color I was looking for and I love the print on it.  I distressed with vintage photo and added eyelets.  I then added the flowers and leaves from the spray as well as some other Prima roses I got from Karen and a Ghost Leaf I got from Audra.


I added some dark purple painted gears that I got in our groups purple swap that matched perfectly.  I then added the purple "thingy" to the other side next to the tag.  I have no idea what metal object it is but it slid over the paper like a paper clip. Another reason Swaps are great, you get things you might have never seen or used before. 


I added some vintage lace that again I got from Karen (she is such a wonderful gal).  I think it is so beautiful and just give it that extra something to soften the page.  I added the banner across the bottom using a triangle banner stamp that I stamped over the images on Seed Fairy paper and then cut them out.  I used pop dots to make them stand away from the paper.


I added a string of Jute across the top and then added smaller banners using smaller triangle stamps and the 8x8 sheet of Seed Fairy.  I added an epoxy sticker with ABC Primer paper behind it for a bit darker-stand out look.  I fussy cut some yellow and white flowers from Beautiful Blooms 12x12 paper and added them over the tag in the corner.  


Here is a close up of the flowers and lace.


Here is a closer up of the fussy cut flowers (I did use pop dots to make them stand out)


Hope you enjoyed this quick layout tutorial.  Super easy and fun to make.  Thanks so much G45 for the great inspiration.  

This layout was a gift for my sister who loves purple.  I gave it to her in the black frame because her and I love black frames.  Also I left it without pictures so that she could add the perfect ones that she wanted to display.

Thanks so much for stopping by my blog today. Hope to have more blogs and projects in the near future.


Saturday, May 4, 2013

Happy National Scrapbooking Day

I've been working away on my personal album today having lots of fun and wanted to share this layout with you.


I used lots of Graphic 45 and Petaloo and a bit of my stash.  Hope you enjoy this step by step tutorial.


 I used Leading Ladies from Curtain call (12x12 sheet) and cut out a 8x8 square from the middle.  You can skip this step if you want to but I do it to save paper and keep my page from getting too thick.  I then distressed the edges with my scissors.  

I attached it to some shimmery blue cardstock from my stash by sewing in down.


I took a picture of the two papers from G45 that I start out with Key to My Heart is in the photo below.


 I took a cupcake size doily and cut it in half and dug out some burlap from my stash.  I stuck them randomly under the Key to My Heart paper (it is 9x9).  I then inked it with some inks made by Audra.  Then I cut one of the packages form the staples and stitched everything down.


I took an 8x8 sheet of French Country Abundance from the small stack and inked the edges with vintage photo.  I added more half doilies and some lace I got from Karen in random places.  I then stitched that layer down.


I added another strip of lace from Karen in black to accent the polka dot Curtain Call paper.


I added some 8x8 French Country Montage paper around the photo to frame it.


I Glossy Accented the photo down and added paint to add a distressed look.


I started by adding my larger flowers randomly at the base of the photo.  (I also added paint to the edges of these flowers)

I added smaller flowers the Tim Holtz tag and some wood buttons I found at my favorite thrift store.


Here are some of the packages of flowers I used.  Petaloo and Prima.


I add some metal Graphic 45 Staples the key hole and the key to the layout.


I fussy cut and add some butterflies to the page this helps fill in all those empty spaces and add more interest to the page.  I also added some Tropical Travelogue Aplpha numbers from the sticker sheet.


I add Glossy Accents to the numbers.  


Here is another look at the finished layout.  I'm really happy how this turned out.  I had no idea what I was going to come up with when starting.  I like doing that.  Seeing where I end up.  I picked the photo after I started the page.  This one fit the color theme well.  Both my husband and I hate having our pictures taken and are not photogenic but someday our kids will want to see pictures of us, so we suffer through for their sake.  Plus with such a detailed layout they probably won't notice how we look anyway.

Glad to have one more photo scrapped in the seeming endless box of photos.  Thanks so much for stopping by and seeing what I've been doing.

Just a reminder I still have 2 prizes from this blog not claimed from my giveaway a few weeks ago. Please PM me your addy and I'll get them mailed out to you as soon as possible. -Amy


Sunday, April 21, 2013

And the winner is...

The winner of the Bird Song paper is Rose Ann Deighan. The winner of the Stamps and Stickers is Mari Hop (Blog). The winners of a handmade necklace made by me is Rebecca (Blog) and Mari Garzon. Thank you all so much for taking part and helping me celebrate these milestones.

Please e-mail me at akluchesky@hotmail.com with your address and info so I can get your prizes out to you.  Again thanks so much.  -Amy

Wednesday, April 17, 2013

Hello Youtube Subscribers and Facebook Friends

I just wanted to Thank You all for being my Youtube subscribers and my Friends.  I have a total of over 555 subscribers and almost 40,000 views and 123 videos.  I am so excited and wanted to celebrate.

Without your wonderful comments I don't think I'd have as much fun with my scrapbooking.  To show my appreciation for all your comments in both my Youtube and my Facebook page I'm giving away four prizes.  One for commenting here on my blog and one for commenting on Facebook.  If you comment both places you'll have more chances of winning.  Plus will be entered in to win two secondary prizes.  These prizes have not been video taped or photographed.  All prizes will be chosen randomly by randomizer.org.  You have until Midnight Saturday the 20th to comment in both places.  So if I have totally confused you here is what is happening: Two grand prize winners and two second place winners will be announced.  Happy commenting and again thank you so much for being with me over the months.

Oh, and here are the prizes:

Prize #1
Graphic 45 Bird Song 8x8 paper pack and Chipboards #1 and #2.  Handmade by me necklace using Bird Song papers.


Prize #2
Assorted Stamp Sets, Masks, Chipboards, Stickers and brads.  Handmade by me necklace made using Graphic 45 Steampunk papers.


Thank you so much.  Amy