Wednesday, June 20, 2012

It all started with Debi Wallace doing a fun challenge back in May when we had our Facebook Ladies get together.  We all had such a fun time doing her challenge we decided to do another one.  This time it was Kim Street's turn to challenge me and here is what I made using only Graphic 45 paper.


For this challenge I could only use the embellishments that Kim sent me and could only add paper, adhesive, stickles, and ink.  Here is what she sent.


Sorry about the picture it is hard to see what she sent but I'll show other close ups of the items as we go.


I started with the green background from Graphic 45's Tropical Travelogue.  Then cut out the trim of the Olde Curiosity Shoppe.


I cut a piece of the packing material and added the stickles to give it some glam.  Then set aside to dry.


Here is the tin foil that she included.  It is even embossed but that isn't going to matter in a few minutes when I take my Sizzix to it.


Here they are all cut and ready to use.  I'll set them aside until I decide what I'll use them for.


Here are the paint samples she included (I almost used Travelogue with these colors but decided with all the metal embellishments I would go with Olde Curiosity Shoppe)
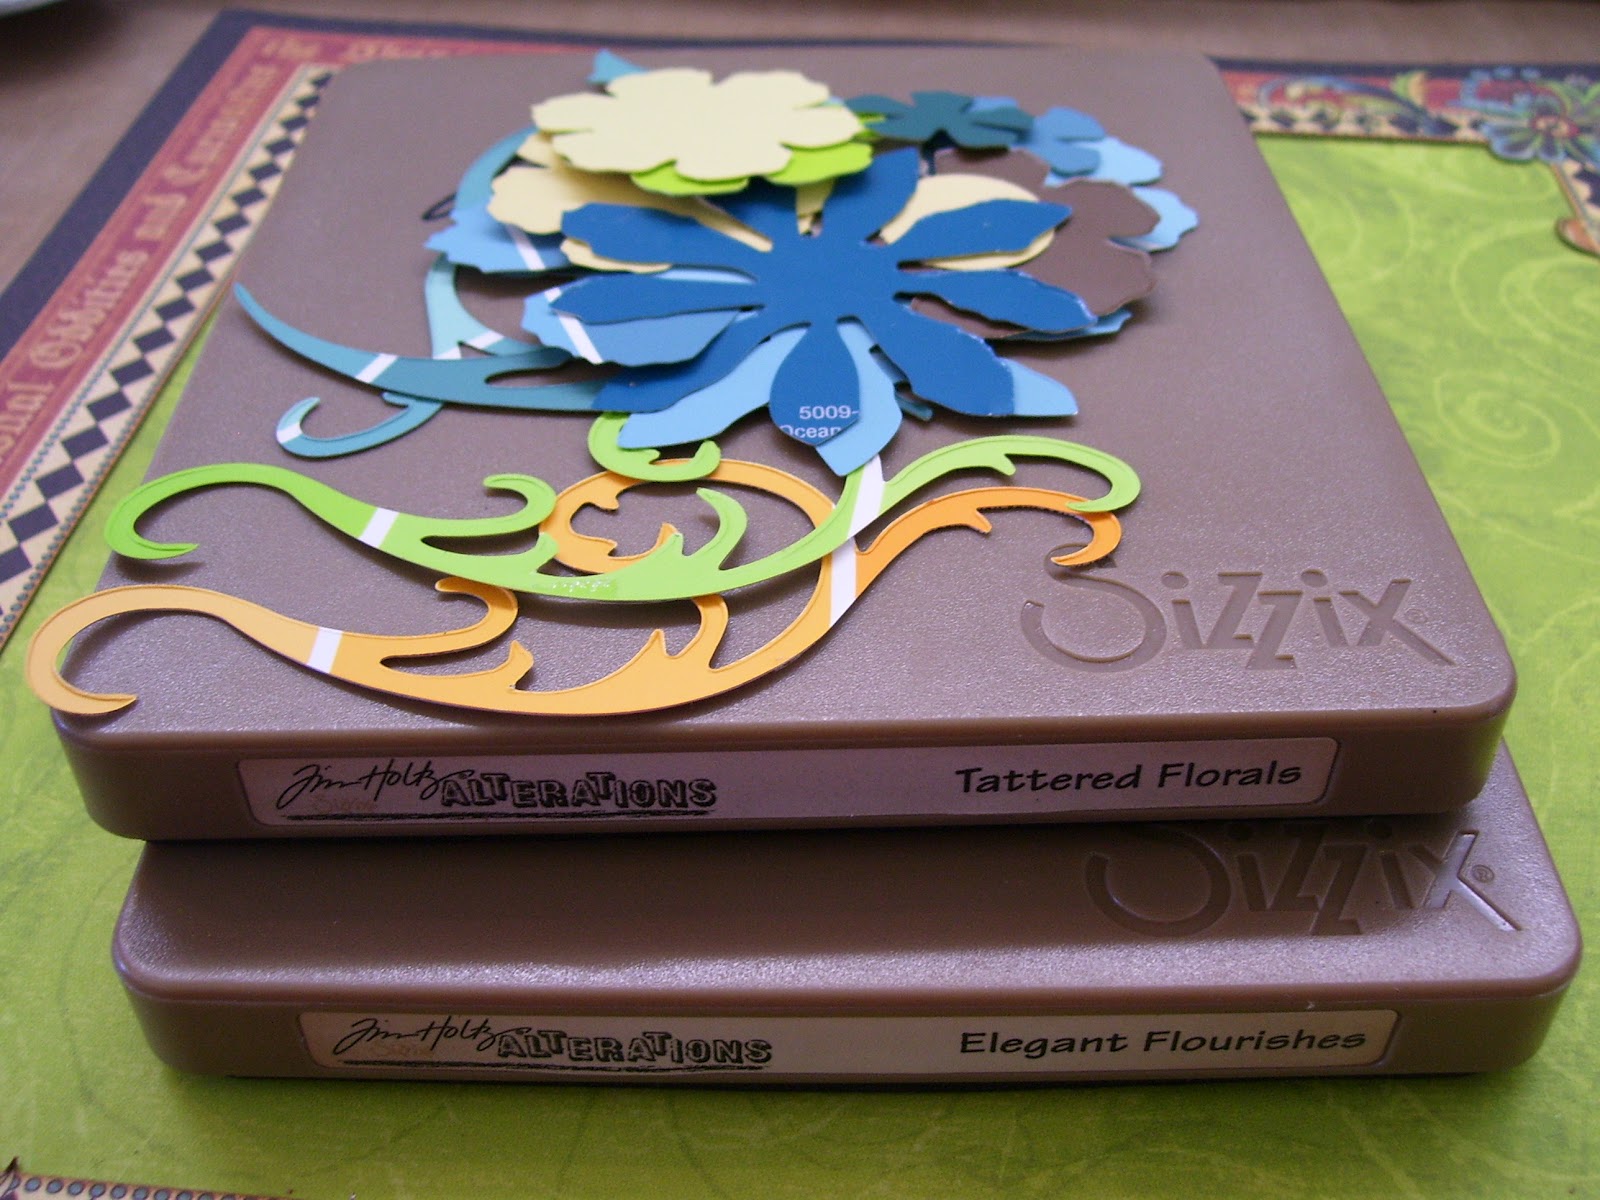


Here is what I cut out.  I have no idea at this point what I'm going to do with them but that is part of the fun of a challenge.


Kim included some of the rubber mat that you would use in a drawer.  I wasn't sure how to use it and almost used it to mist through but decided I like the texture and wanted to use it on the layout.


I used the cotton she included to ink the edges of my pig strip.  I think I like using my foam blending tool better but it was fun trying something new.


I gave the pigs dimension by bending them back and fourth around my fingers.  I then added the foam to the backside.


Here are some of the small metal pieces she included.  The little thing in the plastic baggy is a blinky from her son's shirt.  The inks in the back are the ones I  plan to use.


I inked them up and then added Glossy Accents to give it a glossy shinny look.


I started having so much fun creating that I forgot to take pictures.  Here is what I did:  I added the stickled packing material down the left side and then attached the pigs.  I added the sign with some small wire that was included in one of the baggies.  I attached the sign to some hangers that I inked in the picture above.  I had no brads to use so I used glue to attach them.  


I made the flowers and used the connectors (for wiring) as centers for the flowers.    I cut out some butterflies and added them to the page.  I also made fingerprints in my washer because I didn't wait for it to dry before trying to attach it to the ladies picture.  So to get the finger prints to disappear I added some stickles.
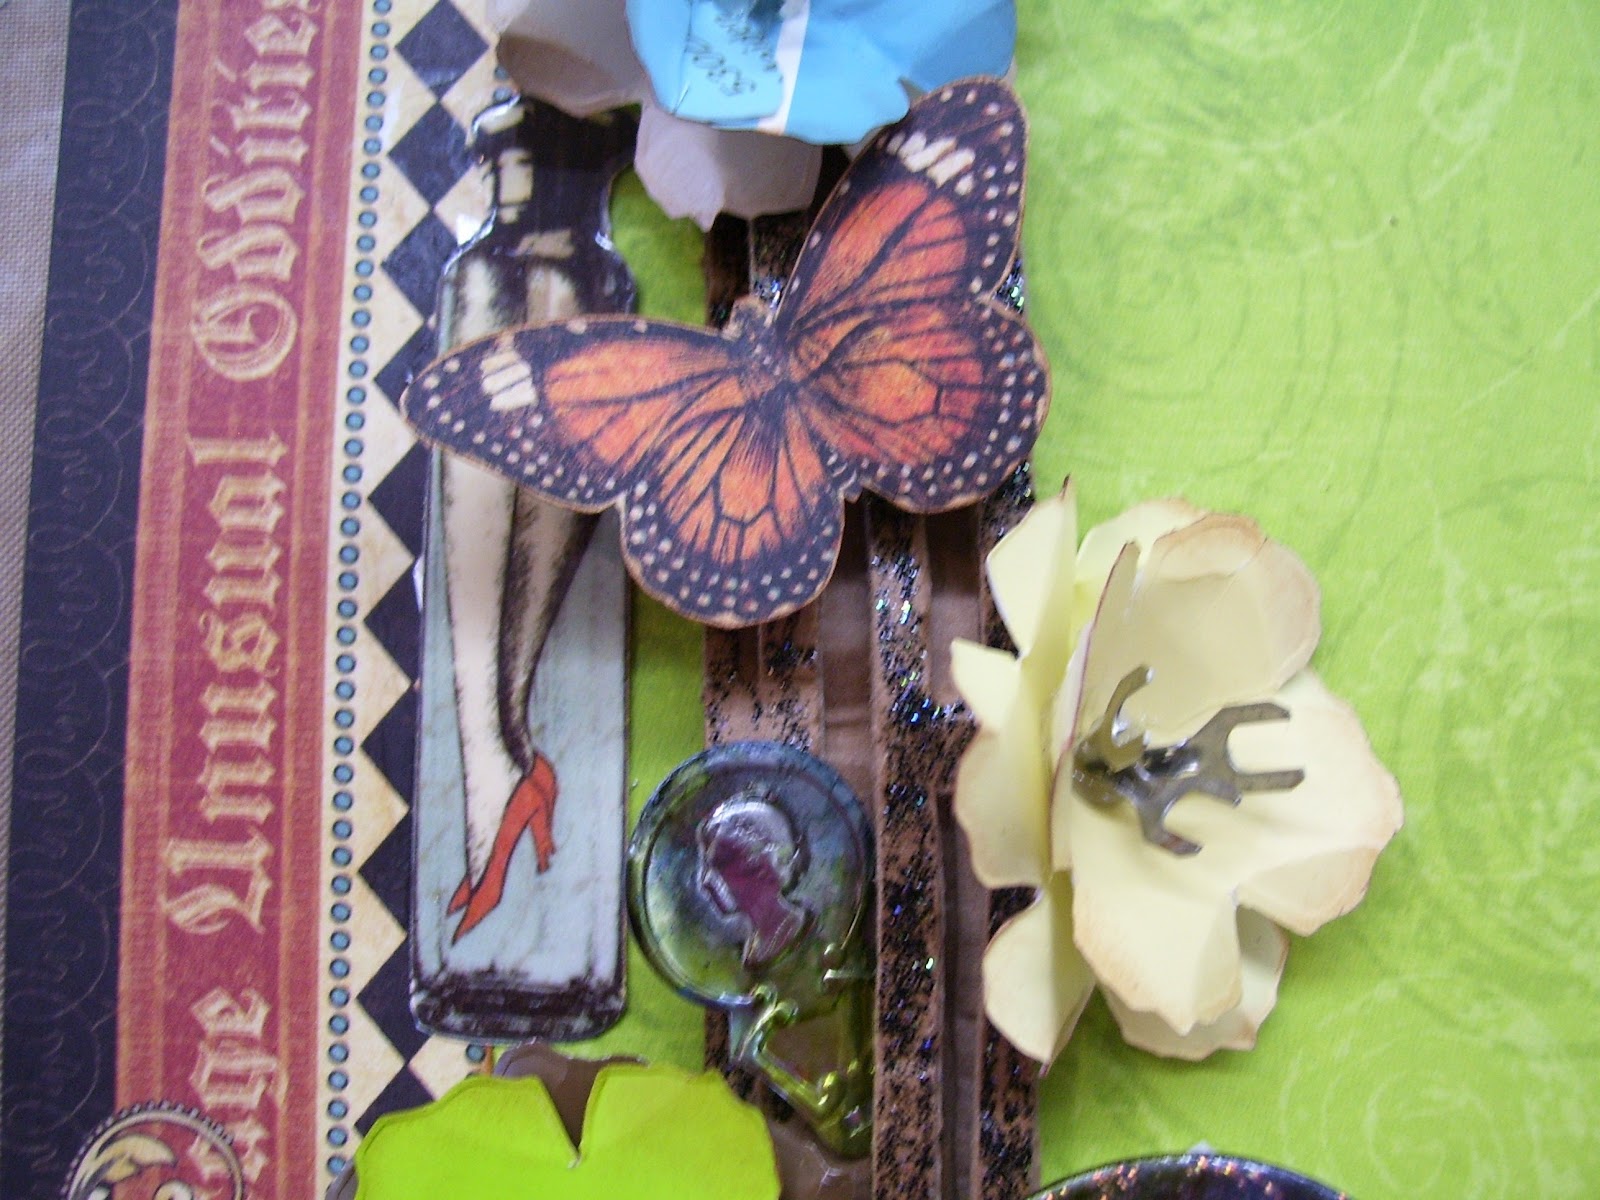


Here is another close up of some of the flowers and embellishments.


I added a photo mat as well as some stitching.  With the remaining metal  I decorated the edges along with a few more butterflies.  The eye above the photo mat is actually the blinky.  I left the word up showing because I liked the way it looked.


I had a lot of fun doing this challenge.  Thanks Kim for sending some really great items.


I hope you like how it turned out.  Thanks for stopping by.

Monday, June 18, 2012

Ladies Diary By Graphic 45


Last Friday our order of Graphic 45 arrived at Sew Scrappin.  I spent the weekend catching up on sleep and doing a few things with the new paper.  Today I'll share the pictures and tomorrow I'll be posting the video.  I'm going to try to keep up with my blog and keep you updated on things going on.  If you are part of my FB group Sew Scrappin you get to see everything first then as time permits I branch out to Youtube, Pinterest, and here.  


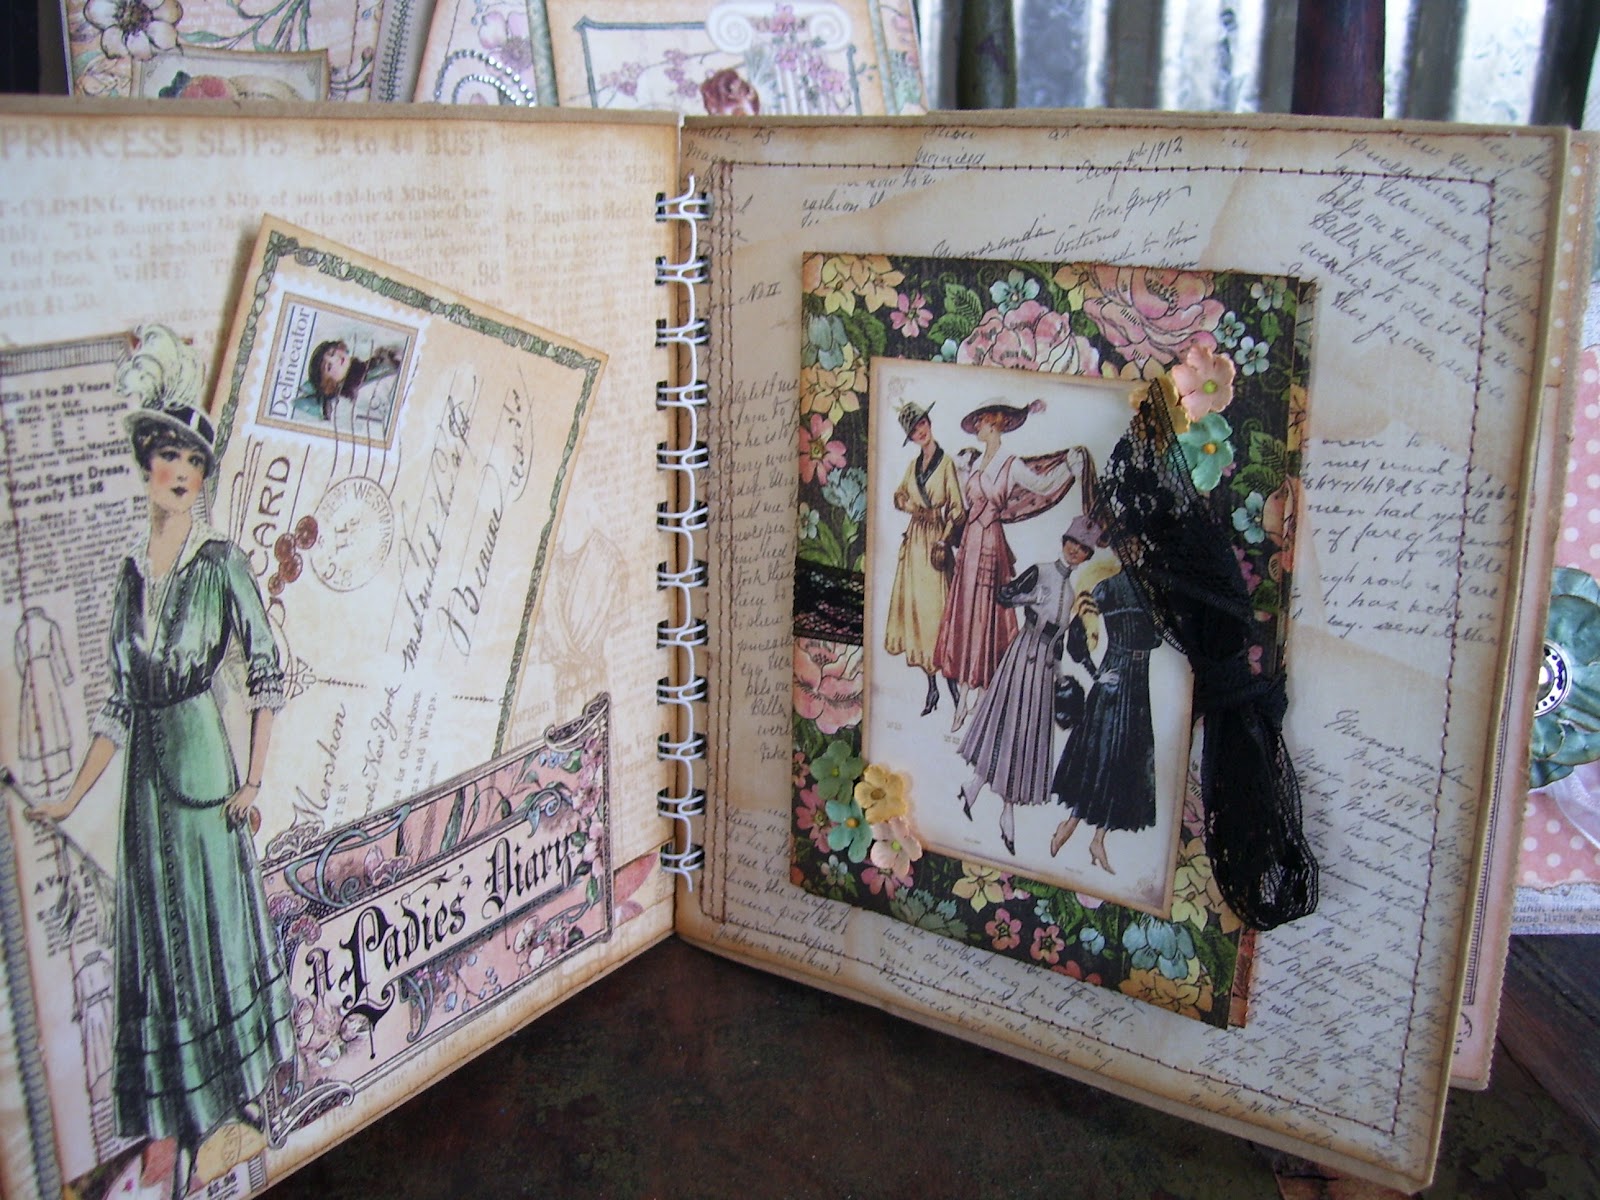
I started with a wooden box that is 8x8.  I painted it with a Ranger Pearl Paint Dabber and covered it with papers from the 8x8 stack and used boarders from the 12x12 sheet.  I cut and 8x8 sheet of the flower paper and added the zipper (see Youtube for my directions).  I added the image pop dotted off the lid with my handmade grunge flowers made with the paper line.  I added a fussy cut image some chipboard and then some DYOB (Bling).


Here is how it looks with the zipper open.  The image on the inside is just sitting in there and can be removed to add something else or to use on another project or just left as is peeking out of the zipper.  I used pearl buttons on the chipboard from a Western Style shirt that I no longer use.  There is a faux diamond attached to the zipper to help you zip it and to add some bling...you can never have too much.


I added paper to the inside from the 8x8 stack it fit almost perfectly just a little ink and glossy accents.


I could not have made this album any bigger and it still fit in the box, pretty lucky that some good Oregon girls gave me some paper bags that were the perfect size.  


I bound it with my bind-it-all.  I used scraps from all the papers to make this lovely cover.  The photo was so pretty I didn't want to add too much to it.  I made the rose flowers using my Sizzix Tim Holtz Tattered Florals die (the smallest flower).  Added some bling and made the cute little charm dangle on the side.


I used some chipboard from the collection and some L & D charms that a friend gave me.  I added a few charms from my stash and attached them to a Tim Holtz Swivel Clasp.


I kept it simple with a few of the papers and a fussy cut image of the pretty ladies that are lifted from the page.


On the second page I added a pocket to the bottom.  I added this little mini book with room for 4 additional small photos.


One the left I made a pocket to add more photos or items to and included a zipper down the side.  The right side I made a secret pocket book that opens with the ribbon.


I added this cute photo to the inside of the flap.


Love this photo so I made it the focal point of the inside.  The other spaces are for photos or something else.


Here are the last two pages:  The left side has two pockets with frames and photos just tucked in to use as you want.  Right side just kept the pretty paper plain.  Love it so much I didn't want to do anything to it.


Here is the card I made.  I used Tim Holtz Kraft Resist paper and inked it the pearl paint.  Added the paper and ribbon.  (that I got off an old Mary Kay box)  Added the image and then one of my grunge paper flowers (Steampunk Debutante Paper) and button.


I'll be making a video for Youtube and will be listing this on Ebay.  Thanks for stopping by.

Wednesday, December 14, 2011

New Products Coming Monday!!!

I'm so excited that my first real order is coming this Monday.  I've got Ranger and some other surprises coming. I'll be adding items to my Etsy store.  I'm still trying to figure out what type of online store I'm going to have and what will be the easiest and nicest looking.  I've been adding more videos to YouTube so don't forget to check me out there.

Monday, November 14, 2011

Hours, Classes and Crops

Last weekend we had a great time at our Saturday night Crop Till You Drop.  We also had a great time making Cards on Sunday, photos of the cards have been posted in my Facebook group Sew Scrappin.  I'm giving myself a week end off from classes this weekend.  I'll be posting the next round of classes really soon.  My birthday is tomorrow so I want to do something special for it.  Jeff is taking me to the new Twilight Movie this weekend and I'm so excited.  The kids are also doing a pie auction to raise money for a Pathfinder trip so that will also be fun.

The Store Hours for November are:

10 A.M. - 2 P.M. M-F
1 P.M. - 5 P.M. SUN
Closed Saturdays
Closed November 24th thru 26th

December 19-23 Hours are:


10 A.M. - 5 P.M. M-F
1 P.M. - 5 P.M. SUN
Closed Saturdays

Monday, August 15, 2011

Halloween Tag Swap on Facebook


If the guidelines for this swap sound familiar, I barrowed them from Minialbumscraps.ning.com

This swap will be a 5 plus 1 tag swap.  You will make 5 to mail out and 1 for yourself that you keep.

Tag size is either a #8 standard size shipping tag (6 1/4 X 3 1/8) or any shape that is roughly around 6 inches.

Tags need to be made of a sturdy material of your choice and should be covered and finsihed on both sides (this does not mean that you have to embellish both sides, I just don't expect to see uncovered chipboard on the back)

Tags must include a few different types of embellishments such as flowers, lace, stickpins, ribbon, charms, metal flowers or embellishments, punch outs or die cuts, tickets, tags, etc.  I would like to see nice fully embellished tags.  I want you to push yourself to create something nicer than you ever have!

Tags need to be placed in ziploc or some type of waterproof bag to keep them from being damaged during shipping.

Tags need to be mailed no later than September 30th.  They need to be postmarked no later than the 30th.  I will return late packages unopened.  PLEASE contact me with any issues, communication is key.  I want the best for my swappers!!

Please include a self addressed stamped padded envelope to mail your tags back along with the same amount of postage you used to ship it to me plus 2 additional stamps.  Any unused postage will be mailed back to you in your envi.  Also please do not send prepaid labels or meterd strips as they expire.  If you would like me to mail your tags back in the small flat rate priority box include 5.20 plus .80 for delivery confirmation if you would like.  I strongly suggest this method as it worked best the last time for everyone with any distance.  (no need to send me a small flat rate priority box, I have tons) Plastic pencil boxes work great too (Misty B used one and it saved her a lot in shipping, but she is just a state away from me).

Please be advised that if you participate in any of my swaps and are late I will put you on swapping probation.  I understand life happens, its when life keeps happening to the same person when it causes waves.  If I place you on swapping probation you will need to mail at least 5 days PRIOR to the deadline and you will also be required to provide delivery confirmation.  I work hard to meet a deadline as most of us do.  We should not be forced to wait on those that are forgetful or irresponsible.

I always send little thank you gifts for joining my swaps (since I don't have shipping costs).  Items are subject to change and are rarely the same twice.  Everyone will get the same thank you gift in each swap but not the same for every swap.

Sew Scrappin
PO BOX 533
Homedale, ID 83628

http://www.facebook.com/groups/216150145069122/
If you want to sign up please go to my FB page 

Sunday, July 31, 2011

I'm always downloading videos to YouTube, Join my swaps on Facebook Sew Scrappin

C

Some New Improvements

Jeff has been busy working on the store.  He got it painted last week.  The floor is also done.  With nothing in the store and the walls not covered in slat board it looks very bright.  Don't worry it will look better with the walls covered in scrapbook supplies.