Wednesday, November 7, 2012

Another Day Here At Sew Scrappin

I'm so sorry I've been too busy to post anything new.  I've been busy doing the mom thing, working my "other" job, while trying to complete some fun new scrappy things.  I've been trying to keep up with cards for my Ebay store and make a few necklaces for my Etsy store.  So things have been busy for me, and just don't look like they are slowing down.  

Graphic 45 Tropical Travelogue

Those that know me, know that I am always on Graphic 45's Facebook Page and their blog.  I won a stack of Tropical Travelogue and some chipboard and stamps.  I have a customer who buys my cards on Ebay who told me she just loves Ladies Diary cards and Tropical Travelogue.  So this week I made several Ladies Diary cards, and since I had time today, I thought I'd make a Tropical Travelogue one.  Hope she likes it.

I start with 5.25 x 5.25 sheet of thin (icky) paper and add some photo squares to two sides.  I then start inking strips (left over from other projects) this one is from On The Boardwalk Collection.  It goes really well with the colors in Tropical Travelogue.


Here is the ink I love to use Vintage Photo Distress Ink by Ranger and Tim Holtz.


Here is all the strips laid out over the paper.  I don't care that they are different sizes.  They will all look great when I'm done.


Here is what the square looks like after all the paper is added and all the sides are inked.


I then stitch the paper to the card base.  In this case I use a corrugated pre-made card base with matching craft envelope.  I zig-zag stitched the scraps together before attaching it to the base.  For this part no adhesive is needed.  I save a lot of adhesive sewing my projects.  Thread is so cheap but beautiful.


I put the card aside and begin making the front.  I use the same size thin paper for making the front.  I use other scraps in triangles to make my rays.  I have a tutorial on Youtube if you want to know how I make them.  I'm much better at them now.   


I stitch the rays down with my Brother sewing machine.  I zig-zag some, and straight stitch the rest, just for fun.  


Here is what it looks like when it is all finished and the strings are all snipped with my scissors.  (sorry the picture is a bit blurry)


I start laying out embellishments that I like to see how I want them placed.  I then attach them with Glossy Accents by Ranger.....My favorite go to for glue.  I love how fast it dries, I'm always in a hurry.


I use some button flowers from SASSAFRAS they were a gift from someone for hosting a swap.  I'm much better at putting names on things that people send me, so that I can give credit, but sometimes or if it was awhile ago I don't know who gave them to me.


I use the Alpha Sheet to put Thank You down the side of the card.  Graphic 45 is doing a Contest for November for Thank You Cards.  Go check it out on their Facebook page.  Of course I'm trying to win more products so I had to add this sentiment.


Here is the paper I choose for the inside of the card.  I'm using the back sheet of the stack.


Here are some close ups of the card.


Here is the back of the card.


The front of the card with the envelope.  I'm in love with these card bases and envelopes.  I get them at Micheal's in case anyone wants to know where I get them.  


 Here are more photos of the front.


Here is the finished inside of the card.


I really love how this turned out.  I want to THANK YOU for stopping by my blog today and taking time to see me in the creative process.  -Idaho Amy


Friday, October 19, 2012

Bird Song Mini Box

I made this box for Graphic 45's October Bird Song Challenge.  I will be making as many Bird Song projects as I can before the end of the month in hopes of winning their great prize.  Head on over to Graphic 45 on Facebook for more details.


I started by painting a dollar box black that I purchased at JoAnn's.  I then used Glossy Accents by Ranger to attach all the pattern papers to the box as well as the stickers from the Sticker Sheet, and metal embellishments.  I used both 12x12 and 8x8 stacks.  The flowers I got in a swap with Karen.  She sent me some great flowers and I'll be getting her the new Place In Time paper when it is available.


Here is the inside of the box.  I used the butterflies for the inside bottom and the black and gold paper for the top, inside top, and bottom of the box.  I added a lady as well as some chipboard to the inside of the lid so that you can write who this box belongs to or any other message.


Here is a close up of the top.  I really love the way these papers work together.  Hope you like my little box and I'll be working on an itty bitty mini to go inside.  I'll post those pictures later.  See you all again soon, and thanks for stopping by my blog.

Wednesday, October 17, 2012

Today's Project
Graphic 45
Ladies Diary Box Set


Here is the project I completed today.  I started it last week, but with the stomach bug that I have been fighting, I didn't feel up to completing it until now.

I use Graphic 45 almost all the time.  My place is full of it and I can't help but buy discontinued stacks and every collection that they come out with.  


I started with the box I purchased from Michael's in their wood department.  I removed the hardware from the front of the box and painted all the edges black with Folk Art paint.  I added this drawer pull from Graphic 45's Staples line.


I took a sheet of chipboard the was in the middle of a stack of paper that I purchased.  Cut it down to 4x6 and painted all the edges with more black paint.


I cut sheets of paper to just smaller than 4x6.  This is so when attached to the chipboard you will be able to see the black paint.  I inked all the edges with Vintage Photo Distress Ink by Ranger.


I attach all the papers to the chipboard using my favorite go to glue Glossy Accents by Ranger.


I organize all the papers so that they are in random order.  


I use my Bind-It-All by Zutter to punch holes and then use it to add the spiral binding.


I then fussy cut the image for the top and added a bow with a Graphic 45 Staples Brad.  I'm not big in OVER-DOING things.  Sometimes less is more when you have such great papers.  I hate covering them up with "stuff".


I added these roses to the front from one of the sheets of paper.  They are really pretty.


Here is the inside of the box.  I decorated the inside top with my favorite polka-dots from this collection and a beautiful image.


Here is a better picture of all those dots.  They are just the prettiest.


I added one of Graphic 45's Staple keys to the front of this album with a Tim Holtz Pin.  I also added Graphic 45's Staple Tag with the key hole.  This lolly pop flower was made by my good Idaho buddy Audra who makes really amazing flowers.


I used some pretty lace from a swap for the leaves next to the black flower.  I added this image to the front and the handle is by 7 Gypsies.


Here is the first two pages.


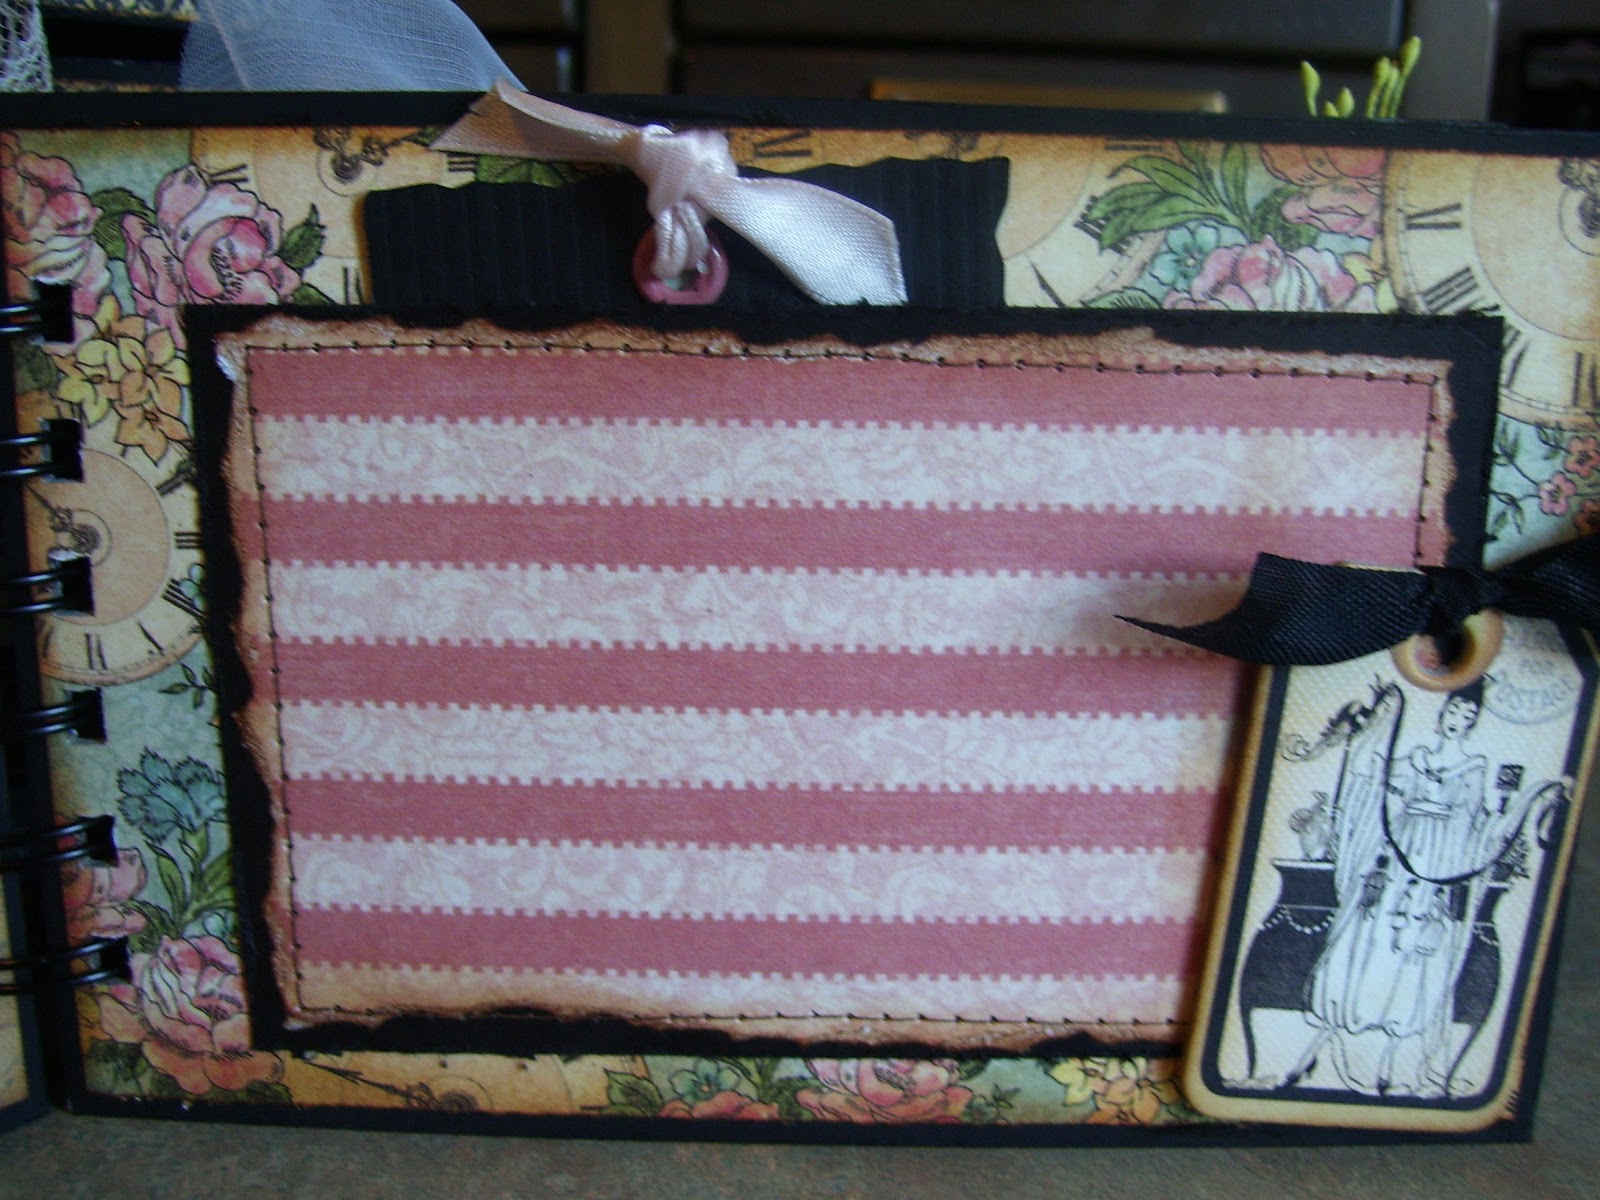
This first page I left lots of room for a large photo and a tag to write on.


This page I did not leave much room for anything else.  The pink trim was sent to me by California's own Karen B.  


More of that beautiful trim on this side.  I added an envelope and tag to the pocket.  You can fill the envelope with additional ephemera that would normally fall out of the book.


This photo mat has machine stitching and a pocket with a tag in it.


I machine stitched a zipper to this page.  I hung a teapot (from Miss Debi from TX) from the zipper.  This is also a pocket page and has a tag tucked inside.


Here is how the zipper looks when down.


I love this Graphic Staple Clothespin.  I attached it using E-6000 glue and clipped a small booklet to it.


The blue flowers on this page I got from Karen B. (of Cali) and I think they are Prima.  She hooked me up with some flowers that I just cannot get here in Idaho.  I fussy cut the pretty lady  and popped her off the page.


Here is room for a wallet photo with trim from a swap and some rhinestones from Kat (Christina) in our black swap (Chipboard is all from Audra).  Thanks ladies for spoiling me in our swaps.


I inked the edges of this doily and used it for a pocket to add photos to.


This page has a side pocket for tags, photos or anything else.


Here is the back of the album.  This post card fit perfectly and I knew it had to be the back.

Hope you like my album and box.  It was a lot of fun to make.  I hope it makes a great gift or keepsake for someone.  Thanks for stopping by the blog today and checking out all these photos.

Monday, October 15, 2012


What's New 
for
Sew Scrappin

I've been working on a new project for my Ebay Store.  I've been giving some hints tonight.  If you check out my Facebook Page I show the beginnings of the box.  This photo shows the beginnings of the album.  I started with a 12x12 piece of chipboard and cut it and then painted the edges with black paint. Hoping that it will be done tomorrow and I can show the whole project on my Youtube Channel so look for it there.  Thanks for stopping by to see what I've been busy working on.