My Journey of Distress With Paint
Welcome to Sew Scrappin blog today. I was very much inspired by my recent Valentines Tag that I made for Graphic 45's Valentines February Challenge. I have had so much fun using paint instead of Vintage Distress by Ranger, my go to all for distressing my work. I got the idea from Tara Orr one of the designers over on Graphic 45. She made a Layout or something and used paint, and I just loved it and wanted to give it a try myself. Scrap-lifting is the biggest form of flattery right? Here is the Tag I made back in February.
I used mostly Scraps of On The Boardwalk, Olde Curiosity Shoppe, Kraft Reflections, and Place In Time. This tag really doesn't have a back or front as I like both sides and couldn't decide which I liked best.
Then came another tag I made while watching Downton Abbey. It was funny that someone said that it reminded them of the show. All by accident I assure you. I just craft while I watch my shows or listen to music and what comes out just happens. I always start with the paper collection and what it will be (card, book, altered object, etc.) and then let inspiration flow from there, I usually don't have a plan when I sit down to create.
And Now this brings me to yesterday I got in a shipment of Graphic 45. It was a box full of Graphic 45 ABC Primer and Kraft Reflections two really great lines that are being discontinued. I wanted to stock up the store before it was all gone.
Here is what I did.
I started with four sheets of paper. Grammar School and School Days of ABC Primer and Express Yourself and Bed of Roses of Kraft Reflections. I also used one chipboard element from the Tags #2. I used one large Metal Tag from the Staples Collection. I used eyelets, small cupcake size Wilton doily, two jewelry pieces purchased at Michael's, part of a metal zipper from (Leslie and Niki my scrap buddies in Bend, Ore.)and FolkArt white acrylic paint.
I used almost a whole sheet of the Express Yourself paper for the background of the front, back, and inside of the card. I fussy cut out some images from the Bed of Roses sheet and used Tim Holtz distress inks fired brick and peeled paint to watercolor the flowers. I cut out two of the tags from School Days sheet and added the eyelets and zipper. I laid out all the items the way I wanted and glued down all the big parts. I then decided I wanted to add paint so then began finger painting the paint in all the areas I wanted adding paint to the metal tag and other embellishments. Once the paint was all added I finished attaching everything with Glossy Accents by Ranger. I finished it off with the chipboard girl which is my favorite part of the card.
The tiny little metal jewelry piece above the girl says inspire.
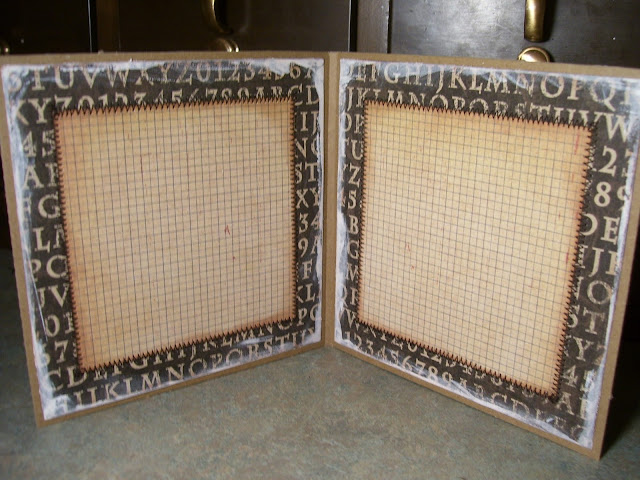
I also decorated the inside and back to make sure that the card was pretty throughout.
I hope that you enjoyed this tutorial today. I've been really enjoying myself. Now that this blog post is done, I'll be back at it. Thanks so much. More photos of my work can be found on Pinterest and Sew Scrappin Facebook Page. Thanks. Amy


No comments:
Post a Comment